How to Use the Retyne Device

retynemk14 copy

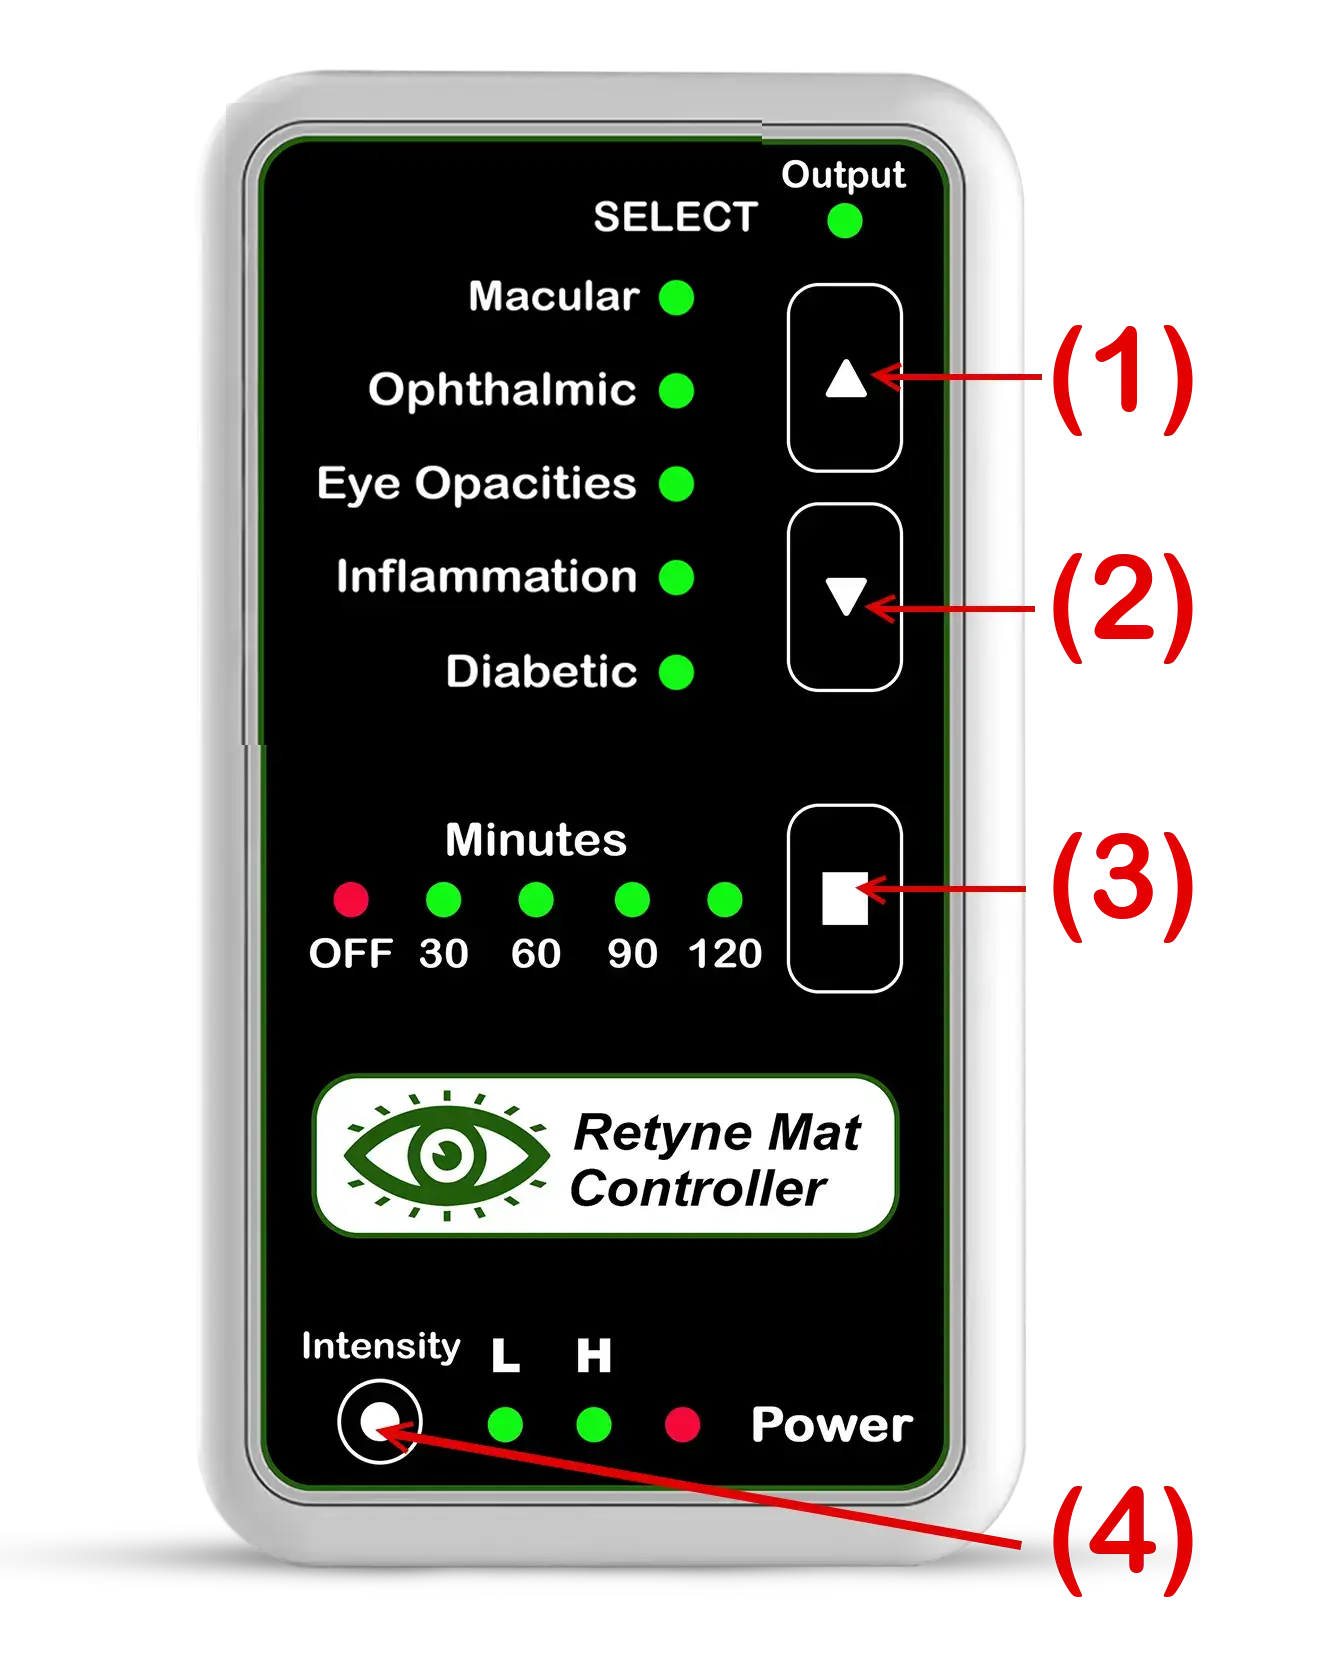
(1) BUTTON 1: UP
Use UP arrow to move UP Eye disorder Categories 1- 5

(2) BUTTON 2: DOWN
Use DOWN arrow to move down Eye disorder Categories 1- 5

(3) BUTTON 3: TIME ADJUSTMENT
USE To Switch treatment time from
OFF = No time set. (Always ON)
30 Min, 60 Min, 90 Min, 120 Min

(4) BUTTON 4: POWER INTENSITY
L = Low Power Infrared output
H = High Power Infrared output

Output LED ON: The Controller is sending frequency signal output to the Retyne Infrared Eye Mat

Power LED ON: The Controller is connected to Power Source (Power Adapter)

More information on using and connecting the Retyne Infrared Eye Mask will arrive to this page soon.
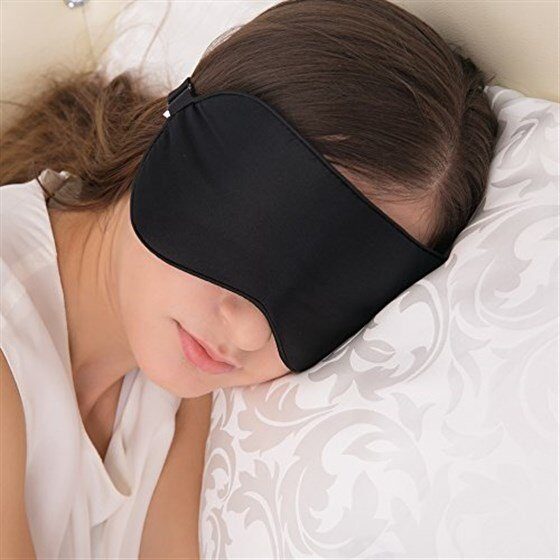
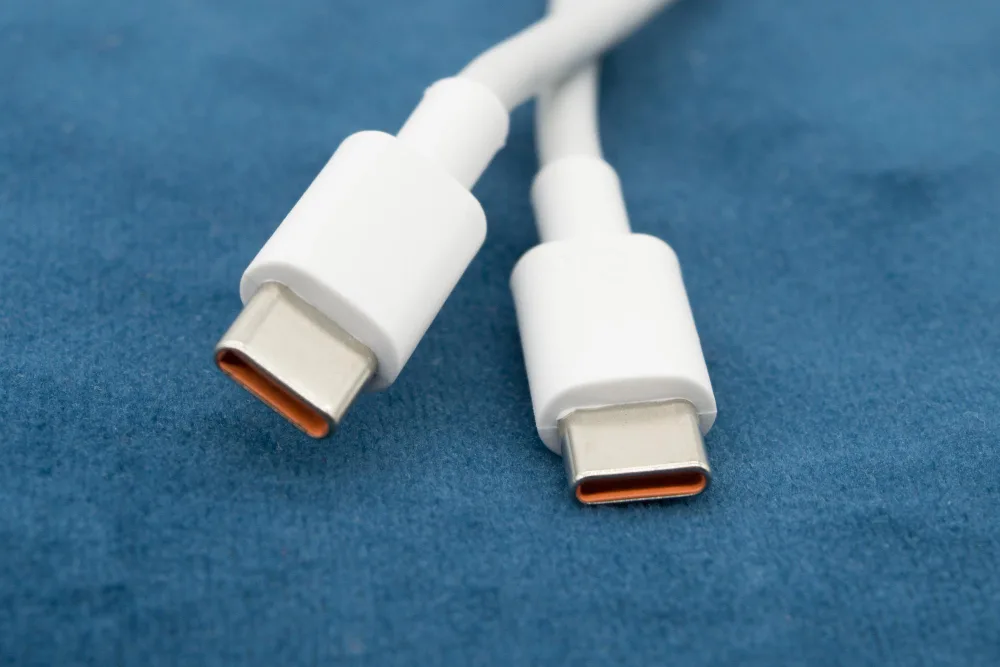
Image3
USB-C
USB-C
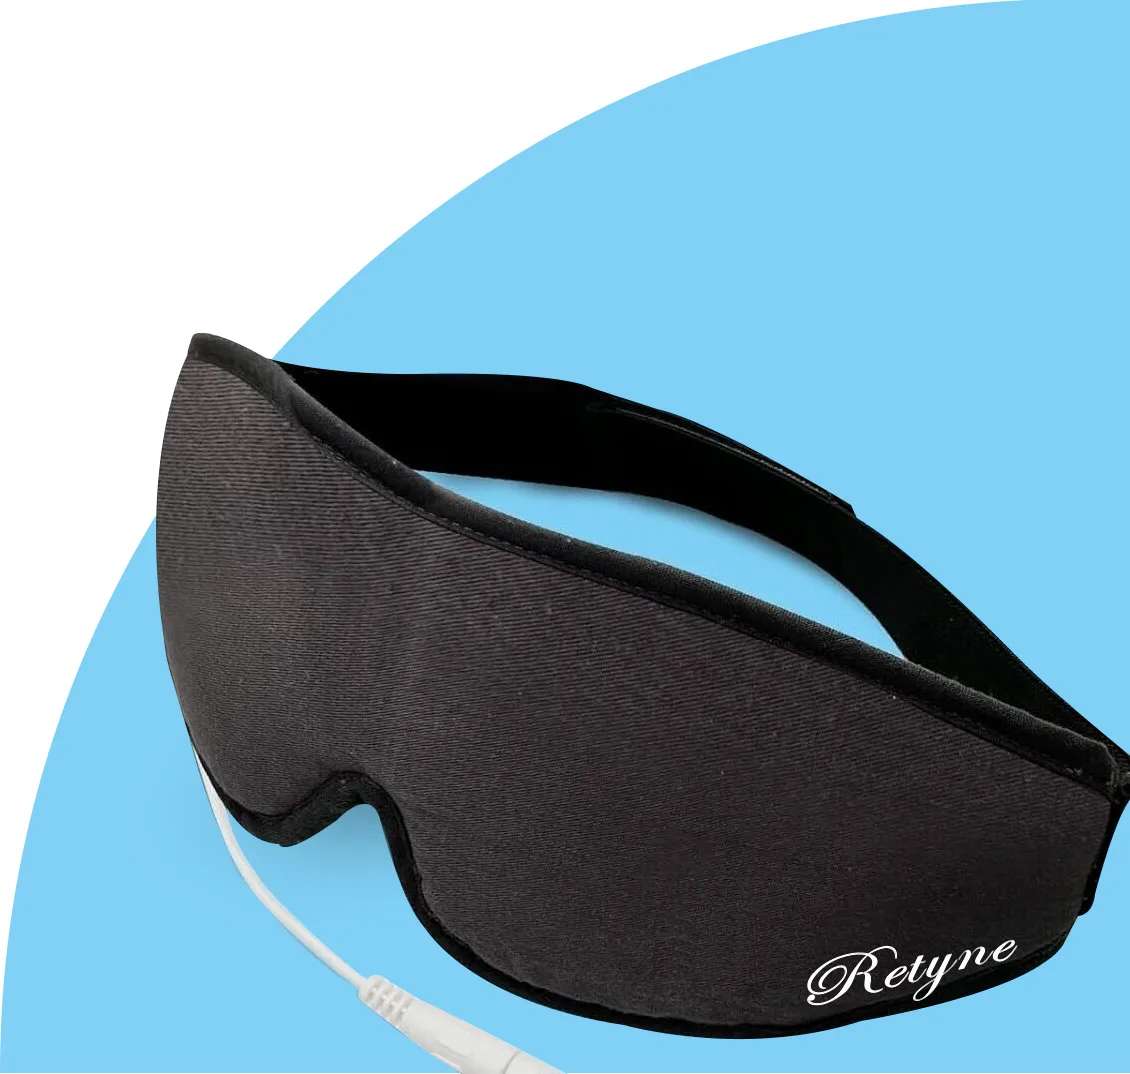
Retyne Infrared Eye Mask
Retyne Mat

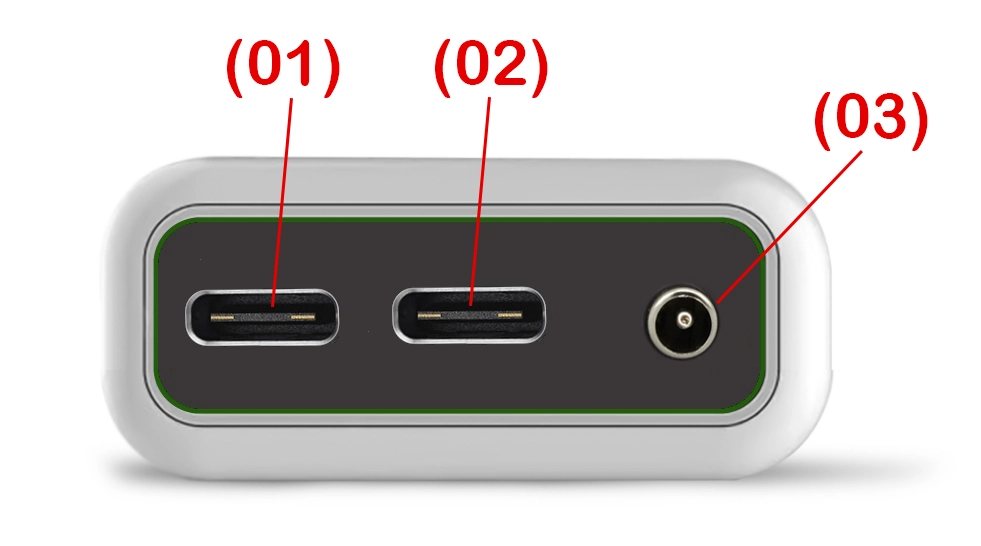
CONTROLLER PORT SIDE VIEW

Controller Port
Controller Port

(1) USB Port for one Retyne Infrared Eye Mask
(2) USB Port for a Second Retyne Infrared Eye Mask
(3) POWER PORT (Power Input)
Comprehensive List of Conditions Treatable with

The Retyne Device

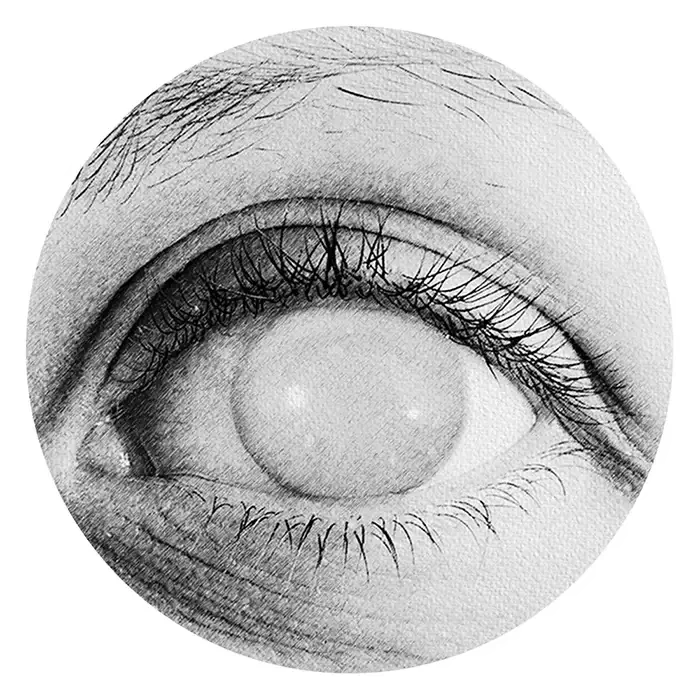
  • 1. Corneal Disorders
    Corneal Disorders
  • 2. Cataracts
            Cataracts        
  • 3. Congenital Eye Disorders
    Congenital Eye Disorders
  • 4. Diabetic Eye Diseases
    Diabetic Eye Diseases
  • 5. Dry Eye Disorders
    Dry Eye Disorders
  • 6. Eye Muscle Disorders
    Eye Muscle Disorders
  • 7. Eyelid Disorders
    Eyelid Disorders
  • 8. Glaucoma
    Glaucoma
  • 9. Infection & Inflammatory Eye Conditions
    Infection & Inflammatory Eye Conditions
  • 10. Macular degeneration
    Macular degeneration         
  • 11. Neurological Eye Disorders
    Neurological Eye Disorders
  • 12. Other Eye Disorders
    Other Eye Disorders
  • 13. Refractive Errors
    Refractive Errors
  • 14. Retinal Disorders
    Retinal Disorders
Shopping Cart
Scroll to Top